Towards the end of 2015 Intel's new server chip the Xeon D became available so i picked up a Supermicro board with one of these to build as a FreeNAS server. It turns out they are perfect for a small FreeNAS build as you get enterprise grade hardware at a good price and a board that supports plenty of RAM for ZFS to use. Supermicro also have Mini-ITX configurations so it can all be crammed into a nice small case.
Specifications
The build should meet the following specifications:
- Small Mini-ITX syle case with space for 6 3.5 inch HDDs.
- Store virtual machine disk images for a lab environment and function as a general file share.
- Take data integrity seriously by using appropriate hardware for running ZFS.
The heart of the build is the Supermicro X10SDV-4C-TLN2F. This has a Xeon D 1521, two 10Gig Ethernet ports and six SATA3 ports. All of the components are Intel hardware as the Xeon D series is basically a SOC for servers. Intel hardware is recommended by the FreeNAS community and is known for having good driver support. We will also need a CPU fan for this model and the Noctua NF-A6x25 FLX can be mounted fine without needing any extra fittings.
As we have a Mini-ITX motherboard the choice of case will be decided by the number of hard disks mounts available. The Fractal Design Node 304 was the most compact case with six 3.5 inch HDDs mounts, and it also takes a full size PSU. This allows us choice of any PSU and the modular Seasonic G-450 works well. Seasonic make quality PSUs and the ability to remove unneeded cables helps save space. 450W will also easily cover the power requirements of the system.
ZFS makes heavy use of RAM for caching reads and writes, typically the more RAM you have the better the performance. Until the Xeon D launched a small motherboard supporting more than 16GB RAM did not exist. Now that even the Mini-ITX configurations of a Xeon D based board support up to 128GB RAM this is no longer an issue. The product page for the the X10SDV-4C has a "tested memory list" of which we are interested in the ECC modules only.
Disk requirements include the drives to be used for storage and a target for the FreeNAS OS installation it's self. FreeNAS will happily install on to a USB device so a quality thumb drive like the Sandisk Cruzer Fit 16GB will solve that problem. The storage disks are often a matter of personal choice but a WD Red is a safe bet. Avoiding 7200RPM is the main concern as they run hotter than 5400RPM with little change in performance with ZFS.
In this build we will also install a PCIe Syba/IOCrest SATA3 add on card and an 80GB Intel S3510 Series SSD. The add on card will provide extra SATA ports to connect the SSD as an SLOG device. The S3510 Series has super-capacitors that can fully flush the cache to disk in the event of power loss. This will protect against data corruption and allow good performance for synchronous writes. The add on card also has some eSATA ports that can be used to run external backups.
- Fractal Design Node 304 -- £62.76 Link
- Seasonic G-450 Modular -- £65.34 Link
- Noctua NF-A6x25 FLX -- £11.69 Link
- Supermicro X10SDV-4C-TLN2 -- £413.47 Link
- Samsung 32GB DDR4-2133 PC4-17000 ECC Registered -- M393A4K40BB0-CPB -- £254.15 Link
- WD Red 3TB 3.5" SATA NAS Hard Drive -- £73.32 Link
- Sandisk 16GB Cruzer Fit -- £19.83 Link
- Syba/IOCrest 4 Port SATA II PCI-e x4 with Shared 2 Port eSATA II -- SY-PEX40048 -- £27.78 Link
- 80GB Intel SSD DC S3510 Series -- £84.88 Link
- Akasa 2.5" SSD/HDD mounting bracket for PCIe/PCI slot -- £11.14 Link
- Anker USB 3.0 & eSATA to SATA Hard Drive Docking Station -- £31.99 Link
Prices are from around the end of 2015.
Build


As mentioned the motherboard does not ship with a CPU fan as it is designed to be cooled by a case fan and shroud. Supermicro do have models with a fan but they have slightly different specifications. The Noctua fan can be fitted without screws using the silicon rubber anti-vibration mounts. They can be installed backwards and hooked securely into the heatsink. The fit is not perfect but it does cool the CPU well enough to about 45 degrees when idle.
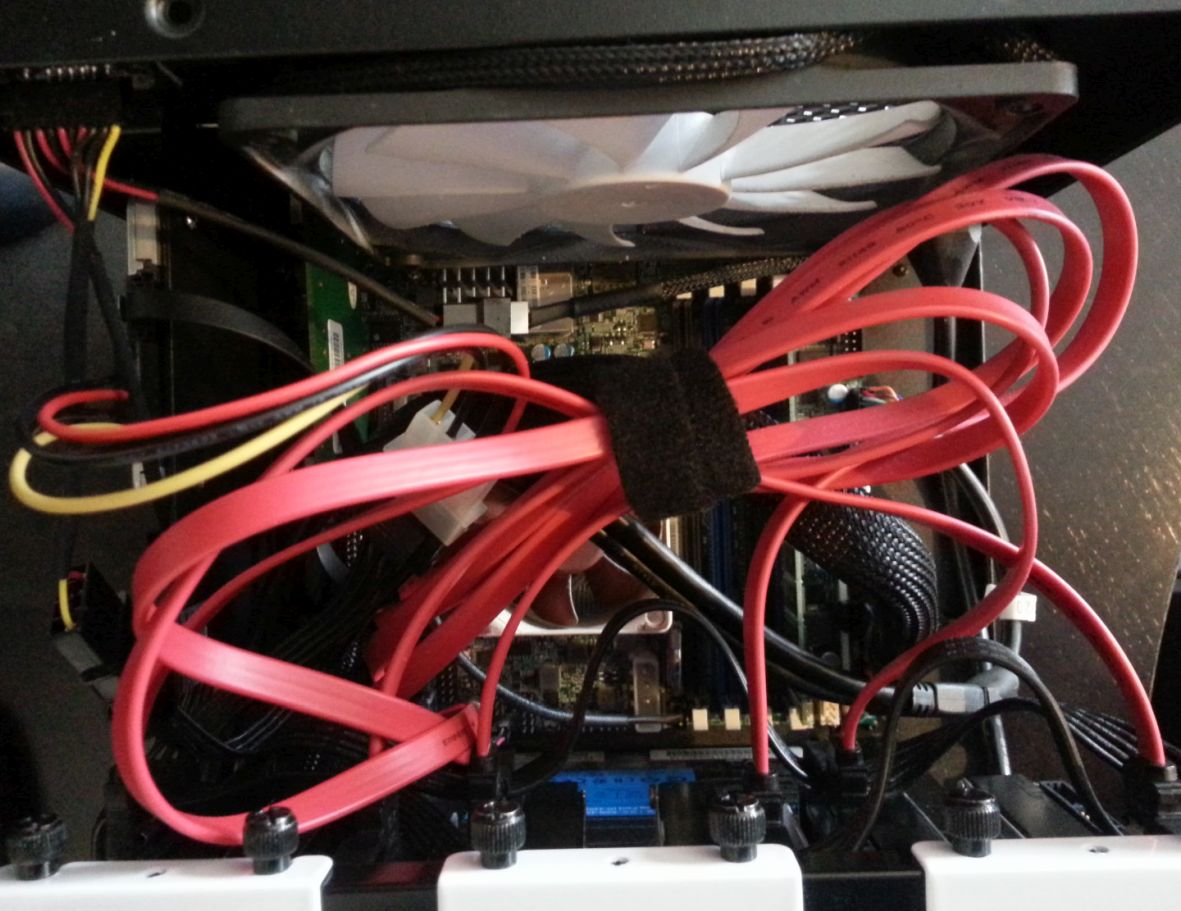
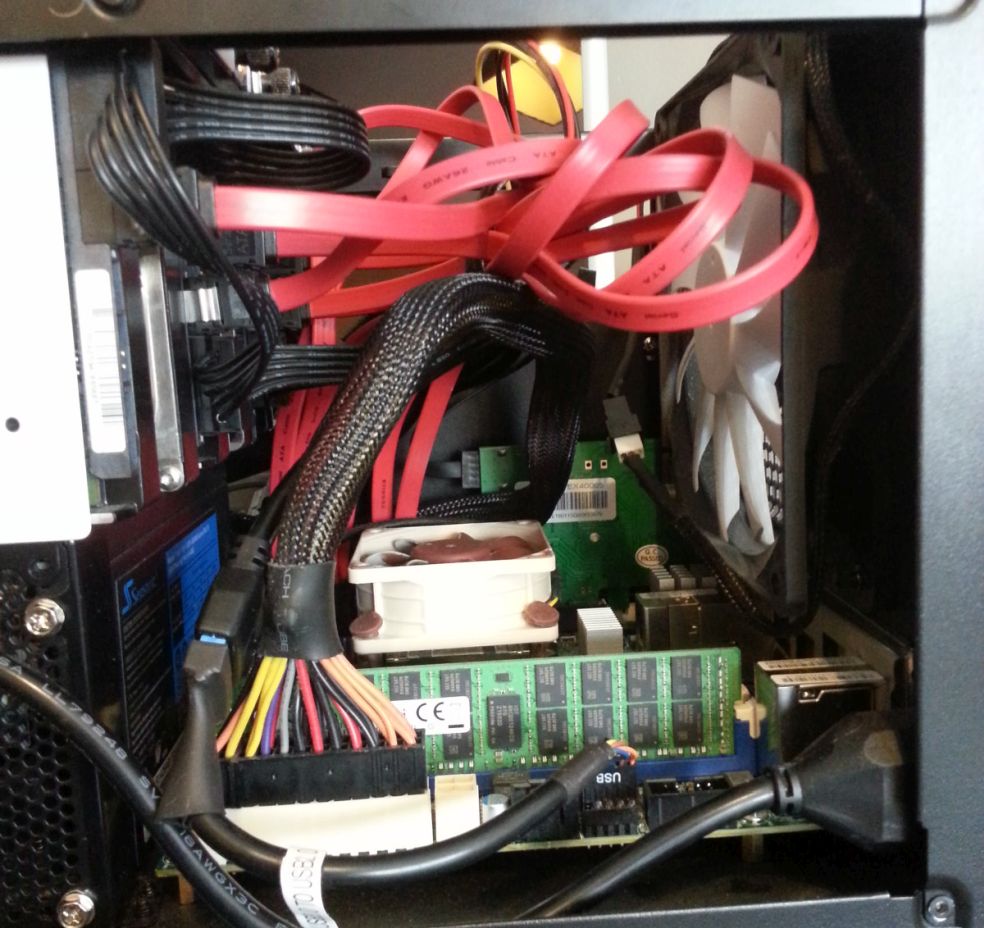
We will need a USB 2.0 to 3.0 adapter cable to get the front USB ports in the case working as it ships with a USB 3.0 connector, and the X10SDV-4C-TLN2 only has a USB 2.0 header on the motherboard. Installing the Syba SATA PCIe add on card should be straightforward. Personally I had some trouble fitting it as the full height bracket packed in seemed to be sized incorrectly by a few millimetres.
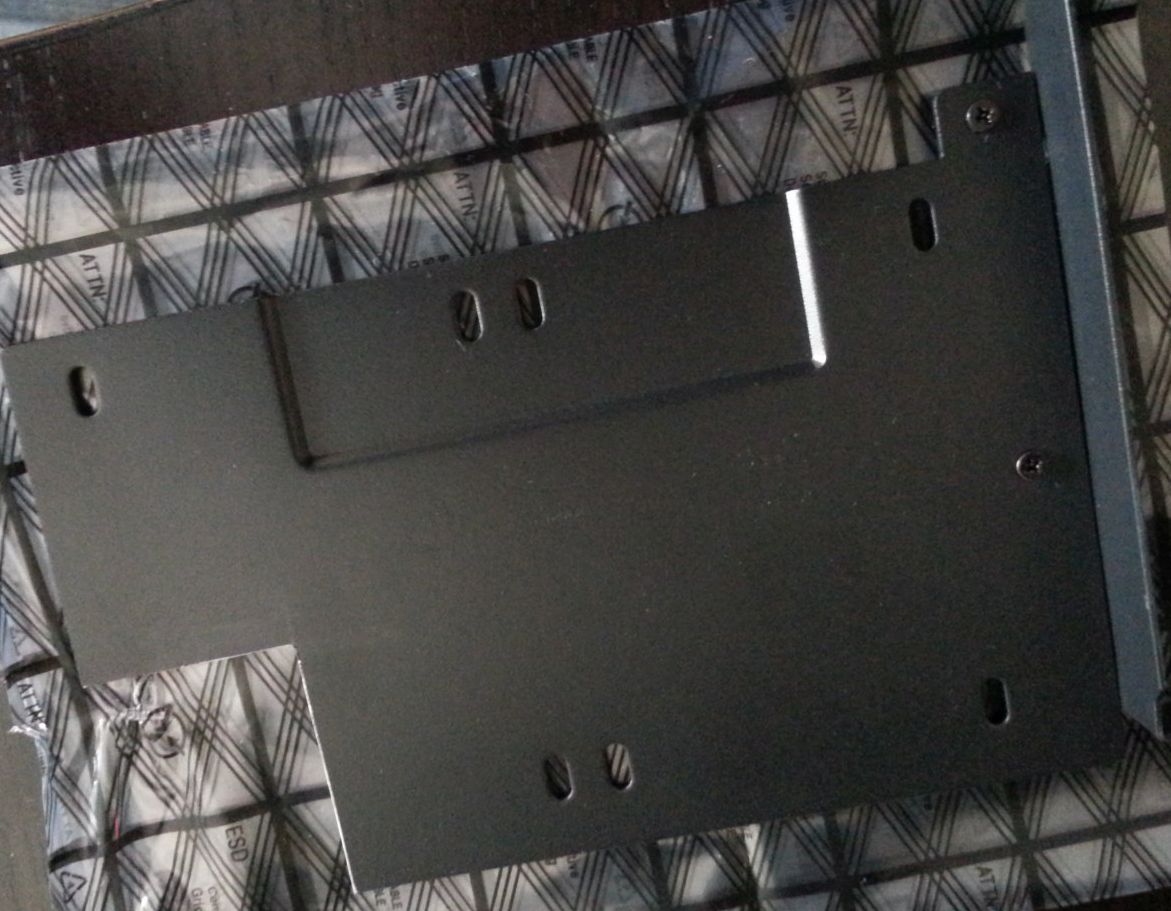

The 6 drive bays in the case are used for the 3.5 inch storage drives, so we need an extra mount for the 2.5 inch Intel SSD for use as the SLOG device. Using the Akasa PCIe slot bracket provides a workable mount location for the drive as the rest of the case has no good mount point. A small modification is needed to this bracket as it is extends too deep into the case when all 6 drive bays are installed. The case supports a Mini-DTX size board we get space for two PCIe slots, this allows the bracket to be mounted in the space where a second PCIe slot would be.
Setup
FreeNAS has very good documentation at doc.freenas.org which it is strongly recommended to follow, the forums are also a valuable resource. The following are some key points to think about when choosing how to setup the OS.
Redundancy
In general we should be creating a mirror volume for storage that requires good read and write performance, especially when the reads and writes are random in nature like those to a virtual disk image from a virtualized OS. For this build that would be a 2x3TB HDD mirror volume.
For storage that doesn't require such good read and write performance any of the "RAIDZ levels" are recommended as they maximize usable disk space. RAIDZ1 is the equivalent of RAID5 (the volume can survive one disk failure) and should be fine for pools with a small number of drives that are not at the cutting edge of capacity. There is a risk with RAIDZ1 that while resilvering (rebuilding) a degraded volume a second drive fails or becomes corrupt, especially with high capacity drives that create a long resilver time.
Personally I don't think this is a problem with a 4x3TB HDD volume like we have here as 3TB drives are now tried and tested. But there are recommendations that when using drives over 1TB in capacity RAIDZ2 should be used. I would recommend reading the ZFS Primer as it covers this and many other topics.
Caching and synchronous writes
As we are now running a server with potentially valuable data dealing with failures like a power outage or kernel panic that could cause data loss is important. This is a concern in regards to FreeNAS as ZFS makes heavy use of RAM for caching.
One option to combat data loss is to make use of synchronous writes. To ensure that data is safely on persistent storage a synchronous write will wait until the data is out of RAM and on disk before calling the write a success. An asynchronous write calls the write a success when it is in RAM only.
The problem with synchronous writes is that they are very slow for traditional hard drives, ZFS provides something to mitigate this with the ZIL (ZFS intent log) which provides temporary persistent storage for synchronous writes. However because in a normal setup the ZIL is on the same volume as the final destination for the write there is not much improvement. For example over 1Gb/s ethernet link to an NFS share on a mirror volume I measured around 5mb/s for synchronous writes and 110Mb/s for asynchronous.
The solution to the performance problem is an SLOG (or Separate Intent Log) device. This is usually a small dedicated SSD that stores the ZIL. This means that any synchronous writes now have a fast cache before they get written to the final volume. As this is persistent storage -- unlike the asynchronous writes cached in RAM -- these will survive a power loss or crash.
There is one final consideration. What happens to data in the write cache of the SSD if there is a power failure? With typical disks there is a danger of data loss here as the drive cannot flush the write cache before the power fails. However there are SSDs with a super-capacitor (like the Intel S3510) that guarantee there is enough power to complete any cached writes fully. This means the synchronous writes to the ZIL are protected and can be replayed on the next system boot if necessary.
With the SSD SLOG device I measured around 60mb/s for synchronous writes to an NFS share, which is fine for my use case.
iSCSI vs. NFS
Both iSCSI and NFS are fully supported by FreeNAS but they are very different protocols. iSCSI is a block level protocol that delivers SCSI commands over IP, this means the client manages the file system and all FreeNAS sees are the underlying requests to modify the storage blocks. NFS in contrast is a file level protocol, FreeNAS manages the file system (ZFS) and the clients use the protocol to modify the files themselves.
As NFS allows visibility of the operations on the files this has benefits for ZFS. ZFS will be able to cache reads and writes efficiently and it will know the context of the operation to help reduce fragmentation. There is also more flexibility for managing data as it is possible to move a large folder locally with the shell for example, or create multiple NFS shares per volume. iSCSI requires the creation of a zvol that defines the block device, that then must be managed by the external client connecting via iSCSI.
There are definitely situations where iSCSI is still preferred, VMware for example has better compatibility with iSCSI storage, and in production environments it is still the standard. But for a lab or smaller environments NFS plays much nicer with ZFS, especially if you are connecting from a Linux or BSD client.
Backup
Finally we will need backups! ZFS has a native replication function that can copy a snapshot to another volume. This can be remotely to a system off site, or in this instance by using localhost as the hostname in the settings to replicate to an external drive connected to the same system via the eSATA port.
The external drive must be setup as a stripe volume, then a snapshot and replication task can be created. I found this works best by avoiding one task to do a recursive snapshot on the whole volume, and instead creating a snapshot (recursive if necessary) for each main volume inside the "root" volume. This will create an identical structure in the backup volume.
Comments
comments powered by Disqus